Wednesday, July 27, 2016
Submitted by Katarzyna Bator and Bailey Kinsky

We selected several types of Japanese tissue to prepare for the mending and began by first toning them with acrylic paint to better match the color of the scroll (Picture 1).
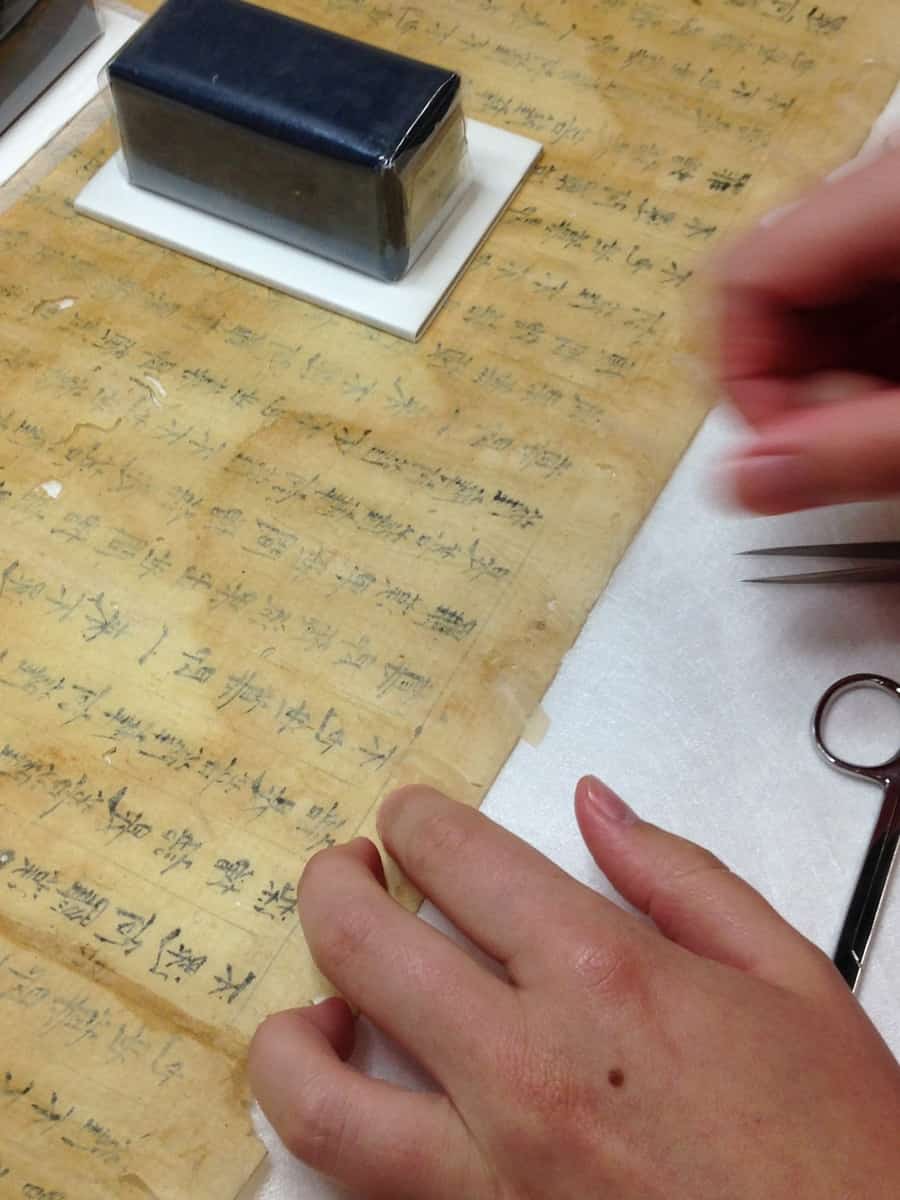
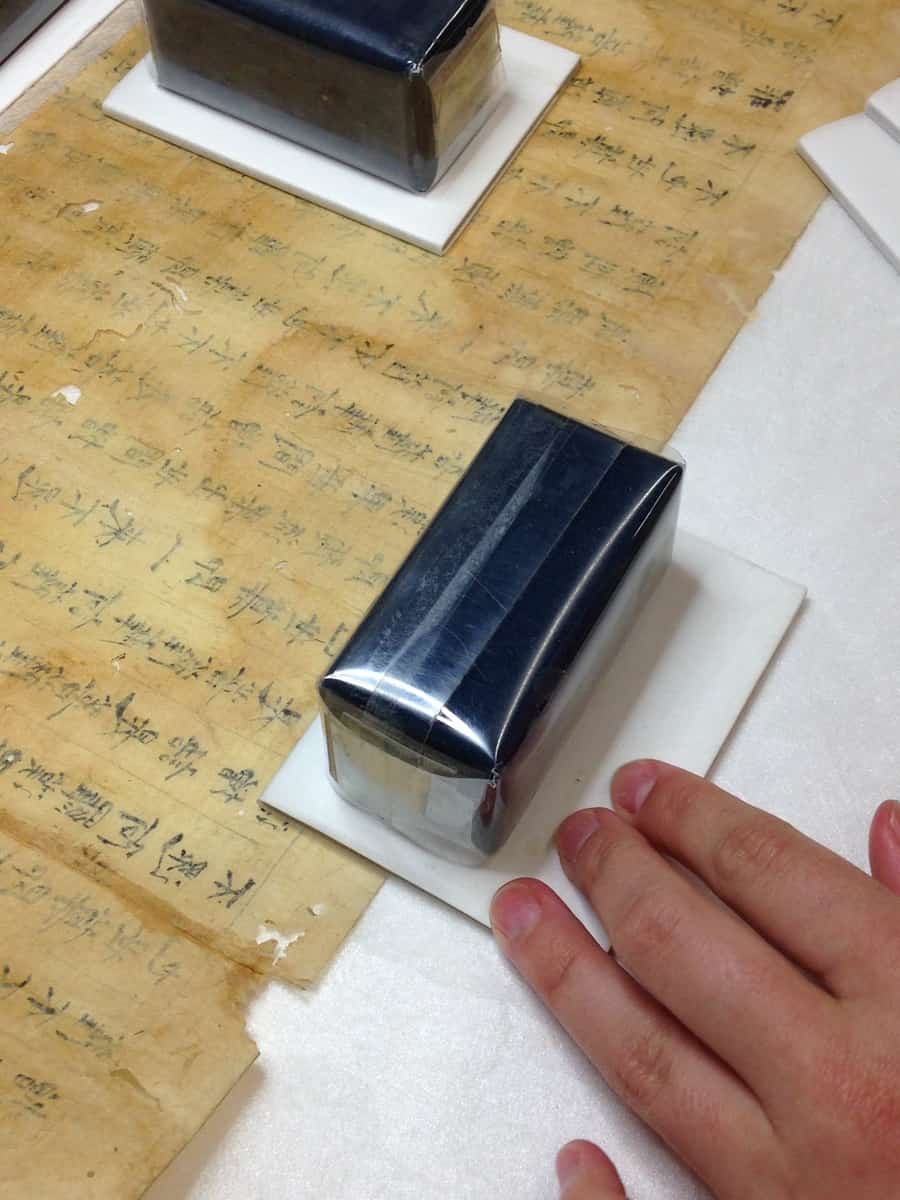
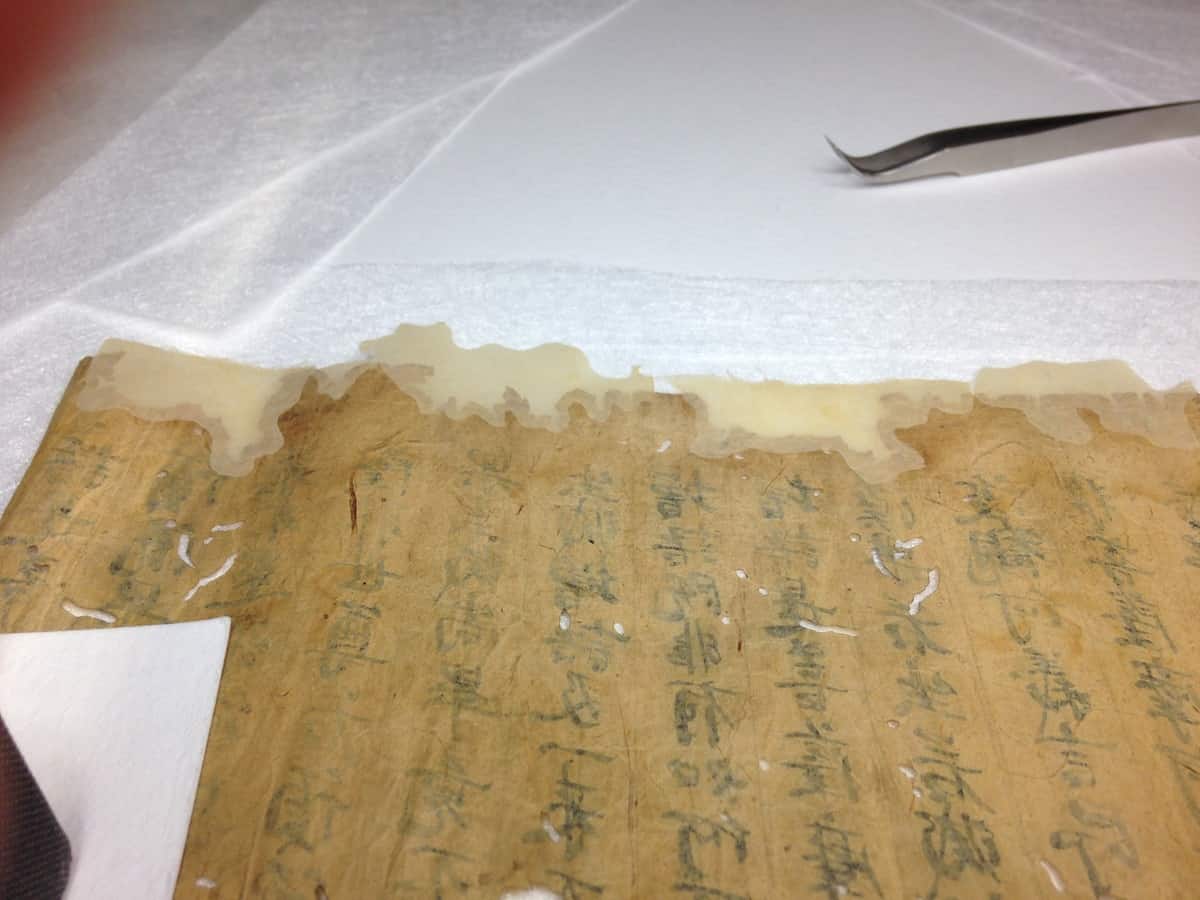
To mend the paper, the area of loss was traced on the tissue using a needle point (Picture 2). A protective, transparent piece of Mylar was placed between the scroll and the mending tissue while tracing. Now comes the “remoistenable” phase of the treatment. The paste and methyl cellulose mixture becomes reactivated in a 1:1 mixture of water and ethanol. The mend was placed on a piece of Plexiglas or cotton blotter and the ethanol/water mix was brushed over the tissue (Picture 3). A tweezer was used to place the mend onto the loss on the paper surface (Picture 4), and then a blotter and weight are placed on top to help the repair to dry flat (Picture 5). All of the repairs were applied to the back of the scrolls so as not to interfere with the manuscript, and Picture 6 shows what a large section of mends look like after drying.